Wednesday, September 23, 2015
Week 23...Decorated & Done!
This week (last week) was another week full of busy everyday things...some good, some not so good. As you know the kids started school last week and this week...well you guessed it...the germs had arrived. My daughter got a runny nose, then I did along with a cough. All while this summer being newly diagnosed with asthma the cough triggered it and I had to go to an emergency clinic to have a breathing treatment. Sucks! Enough bad news...good news...we had our first football game of the season and that was excited. Go Hawks! Then it was school picture day, back to school night and pay day! Busy! Busy! Busy! Remembers always Let's Plan Pretty Things!


Week 22...Decorated & Done!
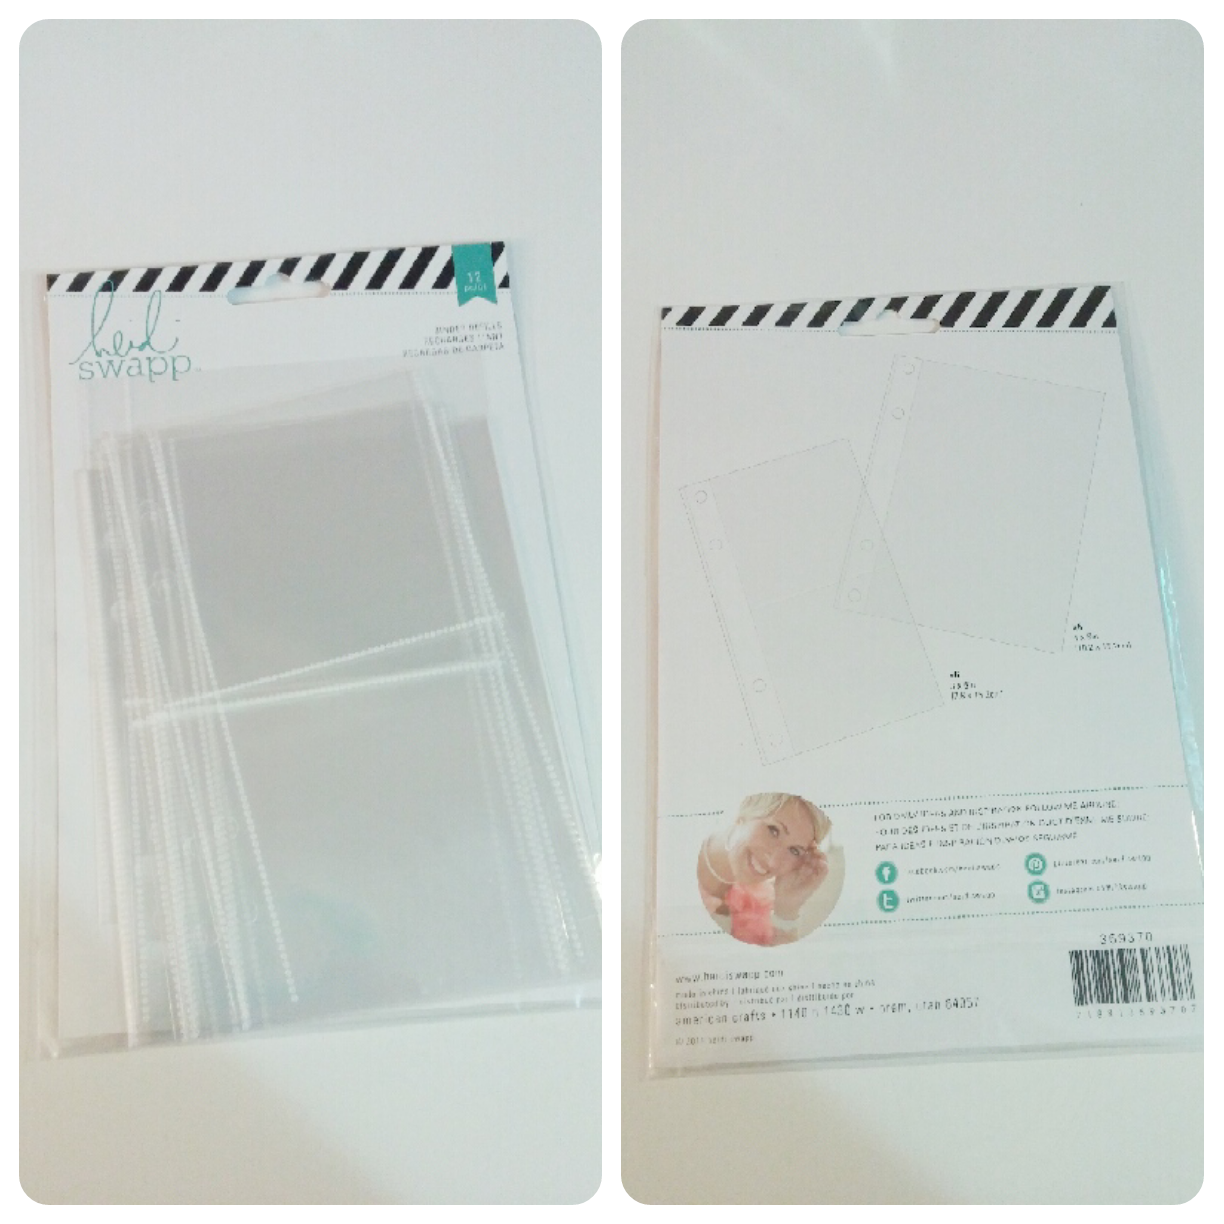
We just came home a few days ago from our long vacation and on this weeks spread the kids started school again. I added some 4x6 pockets to showcase my kids first day photos I took and created personalized school information sheets for the back of the photos for me to go back and reference when I needed. This was quite a busy week for us too and glad to be back on a routine. So don't forget to document all the little things no matter how big or small it is. Let's Plan Pretty Things!


Week 21...Decorated & Done!
This week I was working with the supplies I brought with me on my vacation. While visiting my parents in Las Vegas we took the kids to the Mandalay Bay Shark Reef and Aquarium. That was a big hit this week besides hanging out and taking the kids school clothes shopping. I decorated this week "Breakfast at Tiffany's" themed. If you have any questions about this weeks photos let me know in the comments below. Let's Plan Pretty Things!


Week 19...Decorated & Done!
Sorry again for making this short and brief but if you have any questions please ask. I'll be glad to answer them all. 

Let's Plan Pretty Things!
Week 18...Decorated & Done!
I'm so sorry it's been about a month since I've last posted for all of you. The end of August was a busy one for my family...we were on vacation visiting family in California and Las Vegas. These next few posts are going to be weekly bees but less in details. I apologize. Please comment below if you have any questions on anything you see. Let's Plan Pretty Things.


Thursday, August 13, 2015
Week 17...Decorated & Done!
This week was a pretty light week; not too photo heavy. I have a more detailed blog post below giving details of how I decorated this weeks pages and what paper collection I used. In this post I am just going to share with you my documented days just to give you ideas of things you can document if you have a light week and can't think of anything.
First I just printed a photo of a camera and a quote that I really love, next I have a photo of our first cherry tomato from our garden, then I have a photo of a new 12 x 12 paper pad that I got from Tuesday Mornings, next I have a split photo of the new items at Michaels from the new Heidi Swapp line, and then on the last day of the week I share some mosaic coloring books that my daughters and I picked up from Michaels to bring on our vacation that is coming up in a week. So like I said not too photo heavy but still decorated cute and I love it.
More details...the fresh word sticker is from the new Heidi Swapp collection from Michaels and the YUM alphas are from Pink Paisley Bella Rouge collection and I found those at my Tuesday Mornings too. So keep on planning and making your planners pretty.


I did have a bunch of photos of my daughter at a new park and I couldn't just choose just one photo to document so I used a 4x6 pocket page by Heidi Swapp and make a little scrapbook layout as a insert for this week. I really enjoyed the creative part of this and it looks sooooo cute!
Let's Plan Pretty Things!
Heidi Swapp Planner/December Plans
I decided to do a video instead of just showing you still photos of my plans for using a Heidi Swapp Memory Planner in December and combining it with my December Daily album.
Let's Plan Pretty Things!
Monday, August 10, 2015
LOOK WHAT'S NEW!!!

ENABLER ALERT!
OMG!!! Our fabulous Heidi Swapp has done it again. This is her new collection at Michaels. It just arrived in stores a few days ago and I am in love. I will be returning soon to purchase a few items and I will blog my plans on using them in my planner and for my 2015 December Daily (DD). So stay with me for my creative ideas and Let's Plan Pretty Things!

Week 16...Decorated & Done!
This week I decided to avoid my usual favorite pastel look and go a little more bold with some bright colors. Really...I just wanted to use my washi tape that I've been storing in my stash forever and finally just broke out of my shell and did it.

The banner across the top is actually a fabric tape that I found at Daiso. That was my main inspiration for decorating my week spread. The Rainbow alpha stickers are from the new school collection in the Target dollar spot and the cute mushroom sticker is new from the Dollar Tree. All other washi tapes are from my stash and I don't remember where I got them. Sorry!


This week: My middle daughter had a sleep over at a friends house for a birthday party and she lives near a big Indian resort and casino; the Tulalip Resort/Casino. So I just have cool pictures of the inside and the outside sign of the place...it was our long overdue date night. Then I included my photo of the day from my day 2 (my planner selphy) of the #hsaugustplannerchallenge that they have on the Heidi Swapp Memory Planner group on Facebook and Instagram. The next day my daughter found these amazing pens at Tuesday Mornings that she's been wanting forever...the Blendy Pens. Next day my daughter found a new dress at Value Village (a huge thrift store) and she is just showing it off in the photo while on our neighborhood walk. Ooh the next day it finally cooled off and we had some rain in the evening and before the sun went down right in front of our house we had a huge rainbow. That was so cool...had to document that. And, then the next day another day at the park and she found a friend and I thought it was cute they were playing together only not on the park things but on their iPod and iPad. Well I hope this give you even more ideas of what to document in your memory planner and Let's Plan Pretty Things!
Insert a Layout
On those weeks your pretty photo heavy I like to find a creative way to add more photos. Here is one idea that I thought of for my current week. It might just be the scrapbooker in me but it's a cool idea anyway. In the photo below I am showing you which package of photo pocket pages I used. In my layout I used the vertical 4 x 6 pocket page.

My layout are extra photos from my daughter at her new favorite park. I tried to get a little more creative and took photos from cool angles. On this FRONT SIDE: I have my daughter climbing and sliding down the super tall slide. I used paper from Crate Paper called "Notes & Things". I also backed my photos with vellum for a softer look. The clouds that I used are from my 2 cloud punches I have in my stash

So hope you were able to take some ideas and add a little memories in a cute way in your memory planner too and always remember...Let's Plan Pretty Things!
Wednesday, August 5, 2015
Photo Cropping Tutorial

I get a lot of questions asking; how do I get my photos to fit so perfect in my Heidi Swapp planner. Here I am going to go step by step on my process for you.
My phone is an LG G3 but I am using an app that I believe all phone have access too. The app is called PIC FRAME.

The first thing that I do is select my frame of choice. For my Heidi Swapp planner I use this frame that you see I have circled in the photo shown here. This is the Instagram square size that is split into 4 equal squares.

Then as shown in the photo to your left...once you click on the frame you wanted you will see the editing choices down below. To get the correct Heidi Swapp size for your planner I use this tool (that I have circled for you). This tool will allow you to stretch the lines of the photo to the size you want.

Once you click on this tool (you will see an arrow in my photo to your right) you will see the 2 choices at the bottom. You can move the lines horizontally or vertically. I want you to move the center line horizontally. Stretch it until it can't stretch no more. The larger side of the pic frame is the size you want for your Heidi Swapp planner.

This frame allows you to print up to 2 photos at a time on one photo sheet. I use my Canon Selphy to print my photos but you can use any photo printer for this or I have even used a printing service such as Walgreen for these too.
Hope this little tutorial helps you out some and remember...
Let's Plan Pretty Things!
Step by Step (Weekly Decorating)
I decided to share with you a little bit of a step by step on my decorating/thinking process. This here is my 2nd week in August. Follow the pictures below for caption details on my thinking and decorating process.


Then I flipped through the paper pad and chose 6 cute designs. and trimmed them each to fit the boxes on my planner pages.


Then I decided to put washi tape to cover the black and white stripes where the holes are. Since I wanted to use a light color pink washi I thought I would cover it first with some regular white computer paper before applying the light pink tape; just so there wasn't any bleed through of the black and white stripes. It turned out great.

This is the washi tape I finally chose for this weeks layout. A skinny sheer white tape with little black triangle arrows, a light pink with sheer white polka dots and a sheer white tape with cute black cameras. Some of my favorites.
  |
Then I decided to use this piece of paper from the same paper pad and cut it up and save it to decorate my photos using the cute labeled tabs. I think it will give it a cute scrapbook style to my normal day to day to do's and appointments.  In this picture I put nothing to waste. The little strips from the top of the paper were coordinating patterns and I decided to cut them up and make page flags to decorate this page too. I will also be adding them to my page once I have photos. I like to decorate when I have everything in front of me.  Last but not least I wanted to share with you these adorable little flags that I found at Hobby Lobby the other day that I think will go perfect with this weeks decorations. Last but not least I wanted to share with you these adorable little flags that I found at Hobby Lobby the other day that I think will go perfect with this weeks decorations. So I hope this gives you a few tips and ideas for your weekly decorations and remember... Let's Plan Pretty Things! |
Subscribe to:
Comments (Atom)